Add Sepia Filter to Images Online: Free, Precise & 100% Private
or drag and drop your images here
Give your modern photos a timeless, vintage aesthetic instantly with our free online sepia filter. Operating entirely within your local browser, Image Studio processes your images in milliseconds without uploading a single byte to external servers. It is the safest, fastest way to customize sepia intensity, apply grayscale bases, or isolate the retro effect to specific regions of your photo.
Why It's Different
100% Local & Private Processing
Your photos never leave your device. All rendering occurs locally within your browser, ensuring absolute data security with zero server uploads or cloud storage risks.
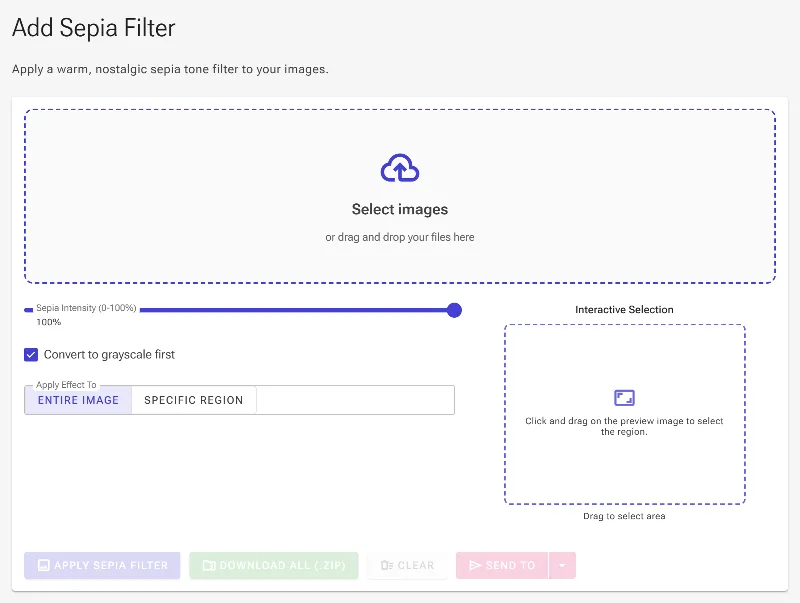
Adjustable Intensity & Grayscale Prep
Fine-tune the sepia strength from 0% to 100% to find the perfect warmth. You can also toggle a preliminary grayscale conversion to strip original colors first for an authentic, deep-toned monochromatic look.
Targeted Area Selection
Apply the sepia tone to the entire canvas or isolate a specific rectangular region. Draw your selection interactively on the image preview with your mouse, or define the exact area using precise pixel coordinates (X, Y, width, and height).
Completely Free with No Restrictions
Enjoy premium photo editing features without paywalls, watermark stamps, sign-ups, or daily rate limits. Edit as many high-resolution photos as your projects require.
How to Apply a Sepia Filter to Your Image
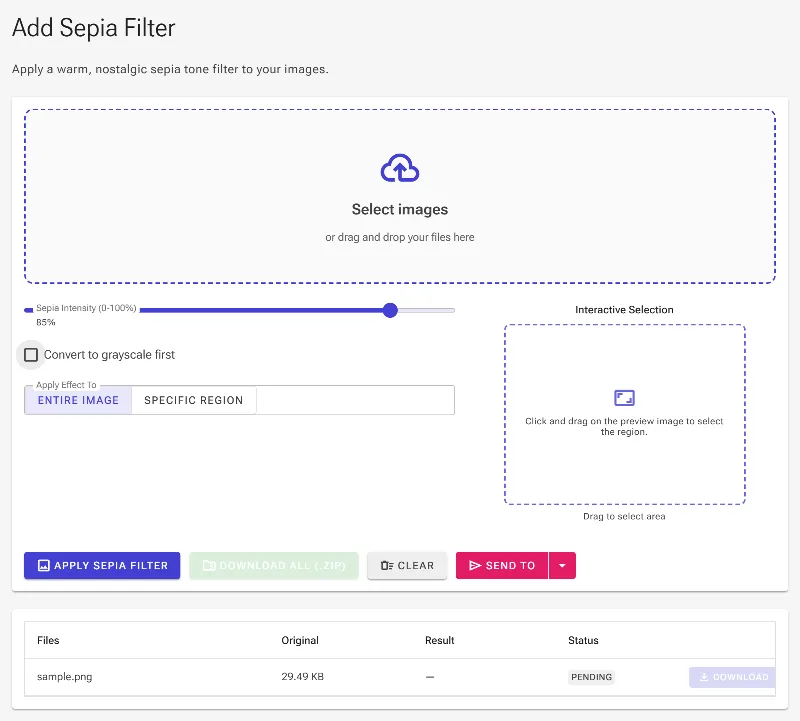
- Load your photo: Drag and drop your image directly into the editor or browse your device to select a file.
- Configure the sepia effect: Slide the intensity scale from 0% to 100% and choose whether to apply a grayscale conversion first for enhanced tonal contrast.
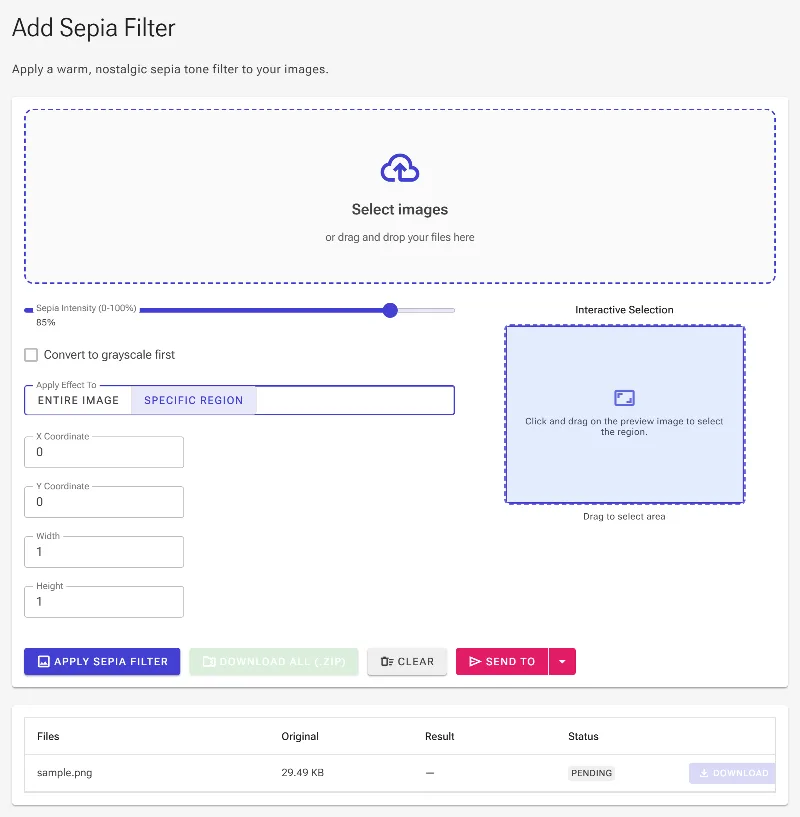
- Define the target area (Optional): Leave the filter on full-canvas, or draw a custom rectangular box on the preview to apply the sepia effect to a specific area. You can also input precise coordinates and dimensions manually.
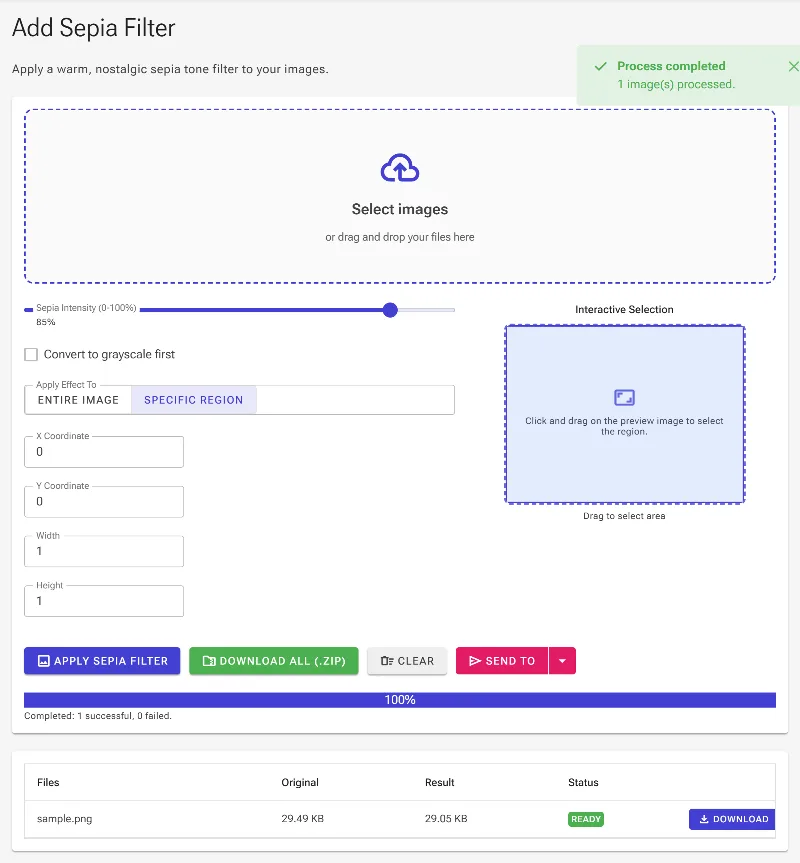
- Download your vintage masterpiece: Click download to instantly save your processed high-resolution image, rendered directly by your browser.
Use It for Anything
Creating Authentic Vintage Photography
Instantly transform sharp, modern digital shots into classic, historical-looking photographs with rich, warm brown tones.
Selective Spot-Filtering
Keep the majority of your image in full color while turning a specific focal area into a nostalgic, sepia-toned window to create unique artistic contrasts.
Professional Layouts & Web Design
Style unified social media feeds, retro blog banners, or digital scrapbooks using consistent, customizable warmth levels across all your assets.
Elevate your photos with professional, fully-customized vintage warmth in just a couple of clicks. Experience the perfect combination of speed, precision, and privacy by trying our in-browser sepia filter today!
Frequently Asked Questions
Is my data safe when using this online sepia filter?
Yes, entirely. Unlike traditional online editors that upload your private files to remote cloud servers, Image Studio processes everything locally in your web browser. Your images never leave your computer, keeping your personal data completely private and secure.
Can I apply the sepia effect to only a portion of my photo?
Absolutely. You can use our interactive selection tool to draw a custom rectangle directly over your image preview, or manually input exact X/Y coordinates and dimensions to isolate the sepia filter to a specific region.
What does the "Grayscale First" option do?
Converting your image to grayscale before applying the sepia effect removes any underlying color values. This produces a cleaner, more authentic, and richer historical sepia tone compared to just overlaying warm tones on top of original colors.
Is there a file size limit or daily usage restriction?
No. Because our tool runs locally on your device's hardware, we don't face server bandwidth limitations. This allows you to process unlimited, high-resolution images completely free of charge, with no registration required.