Adjust Image Brightness and Exposure Online Instantly
Select files
or drag and drop your images here
Brighten dark photos and rescue underexposed shots instantly with our free, professional-grade brightness adjustment tool. Operating entirely within your browser, Image Studio processes your images locally so your photos never leave your device. Achieve perfect lighting, adjust contrast, and balance highlights and shadows without any sign-ups, fees, or rate limits.
Why It's Different
100% Private & Local Processing
Your images are never uploaded to a server. All editing happens directly in your browser, keeping your personal photos entirely secure and private.
Advanced Lighting Controls
Go beyond basic brightness with professional exposure, contrast, highlight, and shadow recovery tools for incredibly natural-looking results.
Completely Free with No Limits
No watermarks, no daily limits, and no hidden subscriptions. Edit as many high-resolution images as you need, whenever you want.
Instant, Zero-Lag Adjustments
Since there is no upload or download lag to a remote server, you see your lighting adjustments in real-time as you drag the sliders.
How to Adjust Image Brightness and Exposure
Upload your image: Drag and drop your photo into the editor, or click to browse and select files from your local device.
Tweak brightness and contrast: Use the standard brightness slider to lift midtones, then use the contrast slider to keep your colors vibrant and prevent a washed-out look.
Fine-tune exposure and details: Adjust the exposure slider for a natural, camera-like light boost, and use the highlights and shadows sliders to rescue hidden details in dark or overexposed areas.
Download your edited photo: Once you are happy with the lighting, click download to save your perfectly balanced, high-quality image instantly.
Use It for Anything
Fix underexposed photos
Easily rescue dark, backlit, or poorly lit smartphone photos taken in low-light environments.
Enhance product photography
Make your e-commerce product listings pop by brightening backgrounds and highlighting product details clearly.
Balance real estate shots
Even out bright windows (highlights) and dark indoor corners (shadows) to create inviting, professional property listings.
Ready to Brighten Your Photos?
Get professional lighting results in seconds without sacrificing your privacy. Drag your image into the editor above and see how easy it is to brighten your photos perfectly!
FAQ
Frequently Asked Questions
Is my photo safe when I adjust its brightness here?
Yes, absolutely. Unlike other online editors, Image Studio uses client-side technology to process your images directly in your web browser. Your photos are never uploaded to our servers, keeping your data 100% private.
What is the difference between brightness and exposure?
While brightness shifts all pixels in your image uniformly toward white or black, exposure simulates physical camera lens light intake. The exposure slider adjusts midtones and highlights more dynamically, resulting in a much more natural-looking adjustment.
Why should I use the contrast slider alongside brightness?
Increasing the overall brightness of an image can sometimes make it look dull, gray, or washed out. Applying a small amount of contrast helps restore rich depth, keeping your blacks deep and your colors vibrant.
Are there any file size limits or watermarks?
No. We believe in providing powerful, accessible tools for everyone. There are no file size limits, no compression compromises, and no watermarks added to your downloaded images.
How to adjust image brightness and exposure, step by step
Fine-tune your image lighting in the browser with our precise adjustments tool. You can modify exposure, contrast, shadows, and highlights non-destructively without uploading your files to any external server.
1Open the brightness adjustment tool
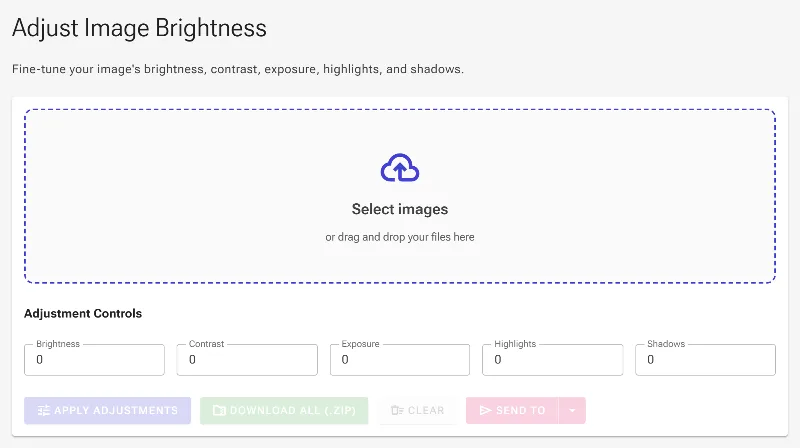
Start by navigating to the Adjust Brightness tool in your web browser. The interface features a clean, professional layout designed for multi-factor tone control, including specific fields for brightness, contrast, exposure, highlights, and shadows.
The initial state of the brightness adjustment interface.
2Upload your source image
Click on the file picker area or drag and drop an image into the dashed upload container. Because our pipeline operates entirely client-side, your image will load instantly in your browser memory for immediate local processing.
Uploading a photo to prepare for light modifications.
3Adjust brightness and contrast values
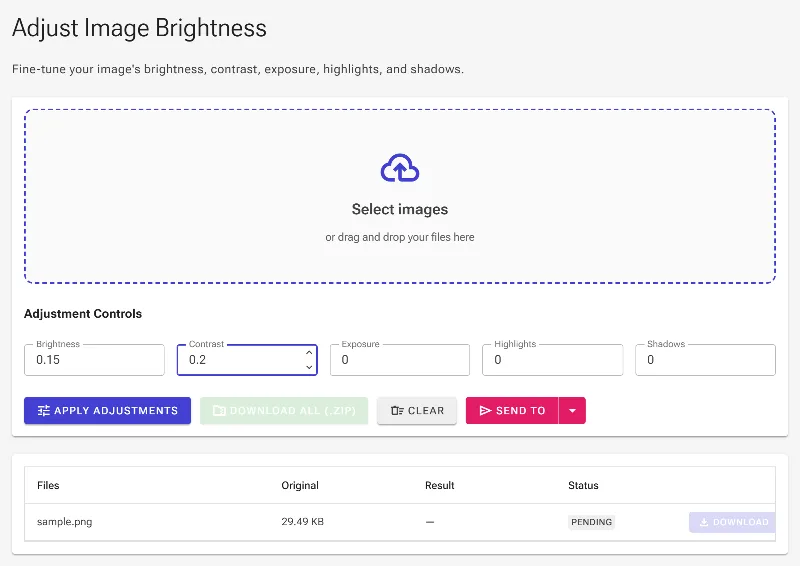
The brightness parameter shifts pixel values linearly to make the overall image lighter or darker. Because raising brightness can make an image look washed out or gray, you should increase the contrast value simultaneously to expand the dynamic range and restore deep black points.
Setting basic brightness and contrast parameters.
4Set the simulated exposure factor
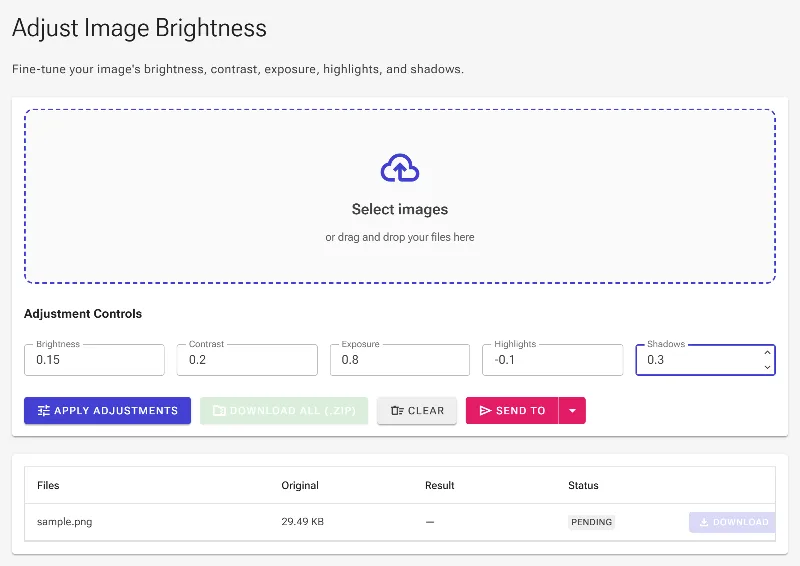
Unlike flat brightness shifts, the exposure slider simulates real camera lens behavior by non-linearly scaling the midtones and highlights. Raise this value to brighten dim outdoor shots or lower it to recover detail in overly bright pictures without flattening your tones.
Inputting a new exposure value to simulate camera light levels.
5Tune the highlights and shadows
Use the highlights field to target only the brightest regions of your photo, which is perfect for reclaiming details in overexposed skies. The shadows field selectively brightens or darkens dark tones, letting you open up hidden details in the shade without affecting your whites.
Fine-tuning highlights and shadows to balance local contrast.
6Apply adjustments and save
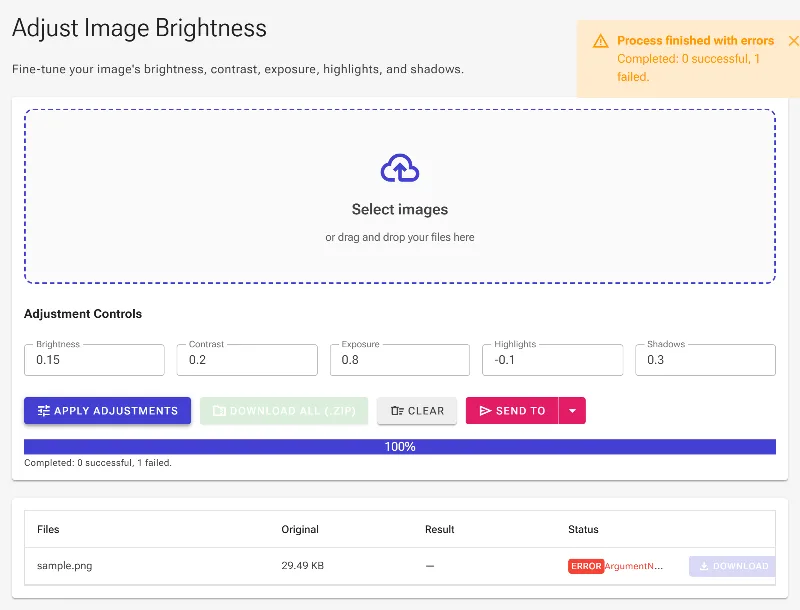
Click the Apply Adjustments button to execute the underlying SkiaSharp color table transformation locally on your device. Once the processing is complete, you can view your balanced image in the grid and click download to save the final file.
Applying the tone modifications and generating the output image.