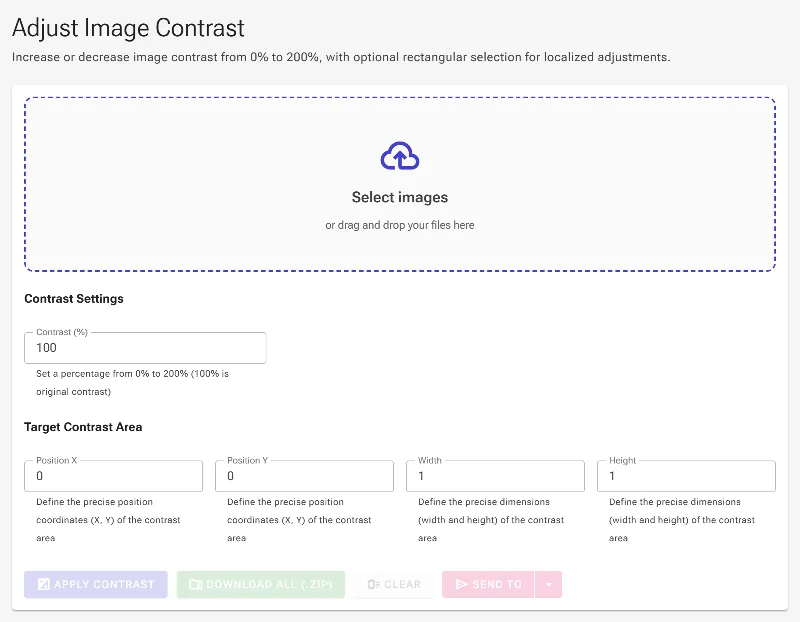
Free Online Image Contrast Tool with Selective Area Control
or drag and drop your images here
Enhance your photos instantly with our professional-grade image contrast tool that runs entirely inside your web browser. No sign-ups, no file uploads, and no rate limits—just pure local processing that keeps your sensitive images 100% secure. Easily fine-tune your entire image or target a specific area for perfect visual balance in seconds.
Why it's different
100% Private, Local Processing
Your photos never touch our servers. All contrast adjustments are computed locally within your browser, ensuring absolute privacy for your personal or professional files.
Localized Contrast Control
Don't limit yourself to global edits. Use our unique "Contrast Rectangle" to apply precise adjustments to a targeted area while keeping the rest of the image intact.
Pixel-Perfect Coordinates
Fine-tune your localized selection with absolute precision using numerical coordinate controls (X, Y) and custom dimension inputs (width, height).
Zero Restrictions
Enjoy premium editing features without watermarks, file size caps, daily usage limits, or forced registration.
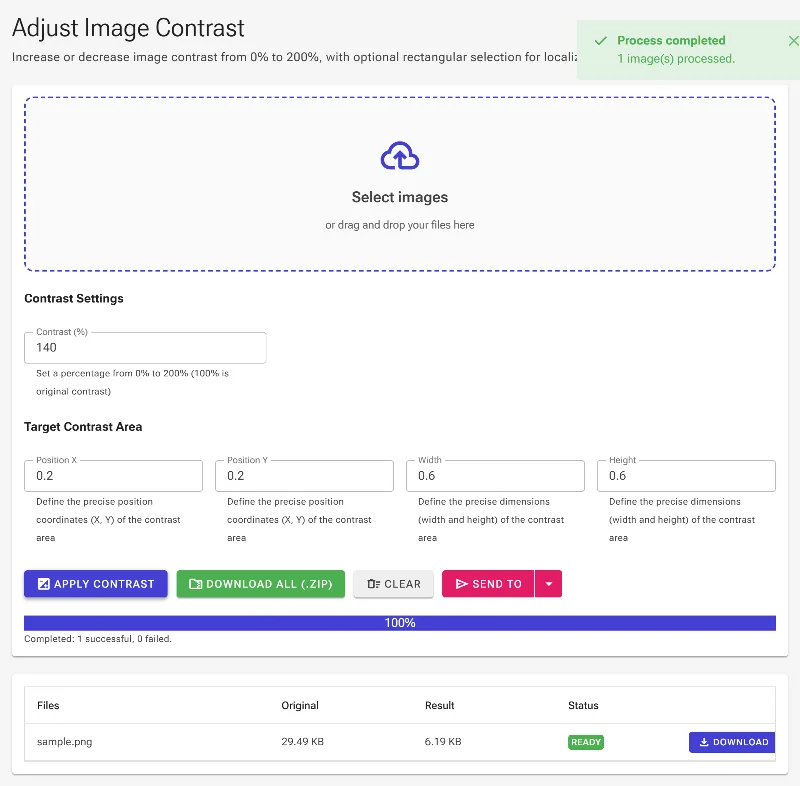
How to adjust image contrast
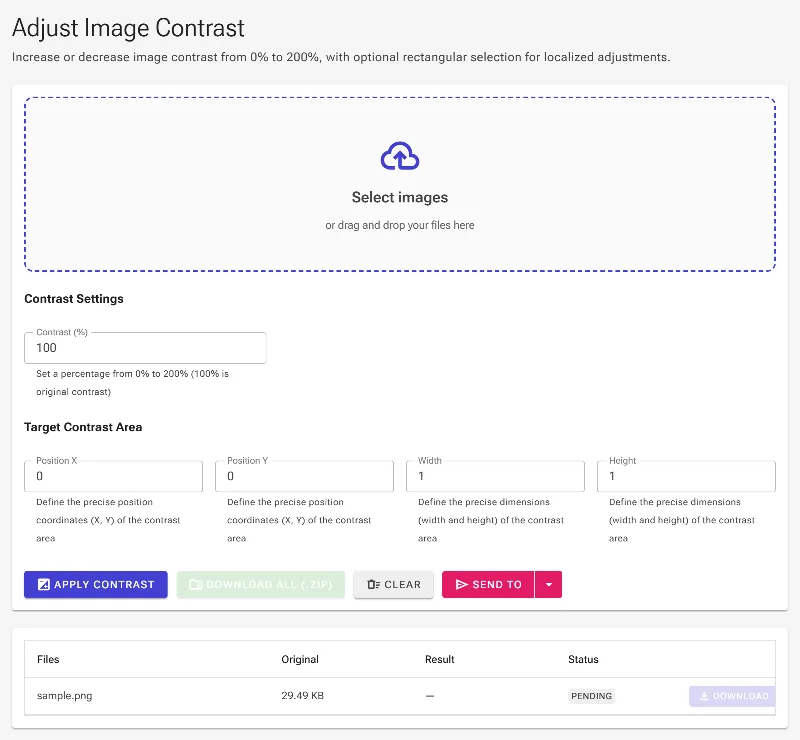
- Load your image: Drag and drop your file into the workspace, or click to choose an image from your device.
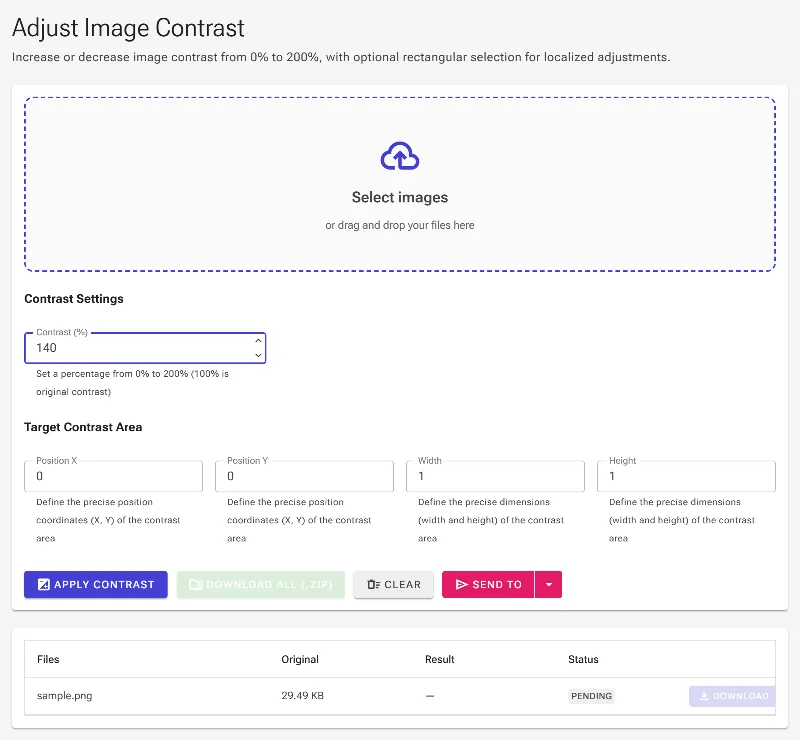
- Set global contrast: Use the main slider to increase or decrease the overall contrast of your image using a scale from 0% to 200%.
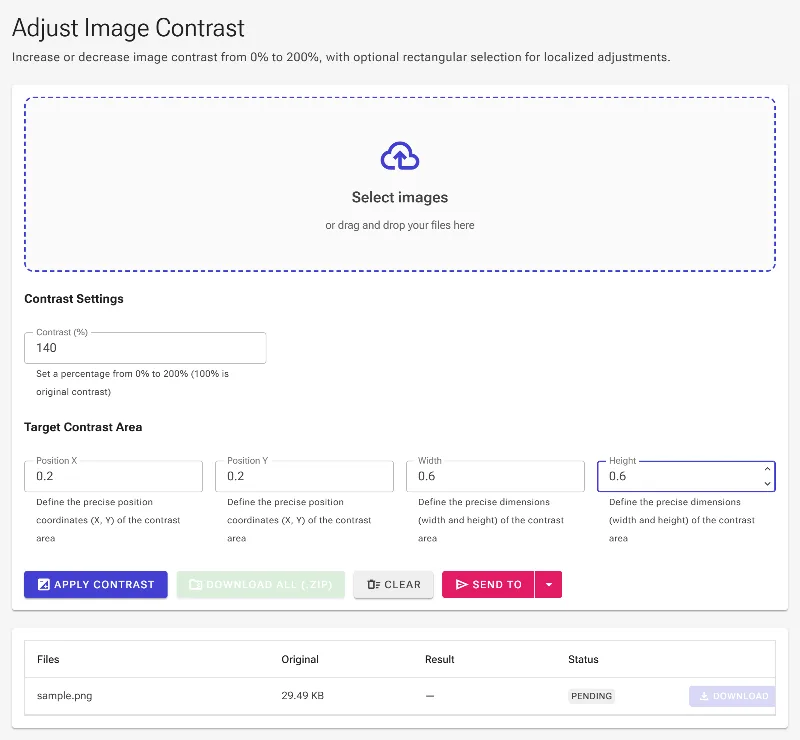
- Isolate a specific area: Activate the "Contrast Rectangle" and use the interactive visual handles on the preview to drag, resize, and frame the exact zone you want to adjust.
- Fine-tune coordinates (optional): For perfect symmetry or technical requirements, type exact values into the X, Y, width, and height input fields.
- Download instantly: Preview your changes in real-time, then click download to save your newly optimized image directly to your device.
Use it for anything
E-commerce & Product Shots
Make your products pop by selectively increasing contrast on the item itself while keeping the background soft.
Document & Text Readability
Boost the contrast on scanned receipts, faded documents, or old handwritten notes to make illegible text highly readable.
Atmospheric Photography
Salvage underexposed landscape photos by targeting dark shadow regions and restoring balance to the midtones.
Get Started Now
Take complete control over your photo's highlights and shadows with the web's most precise, private contrast editor. Try Image Studio today and experience fast, local, and professional-grade editing with no strings attached.