Adjust Image Lightness of Selected Areas Online
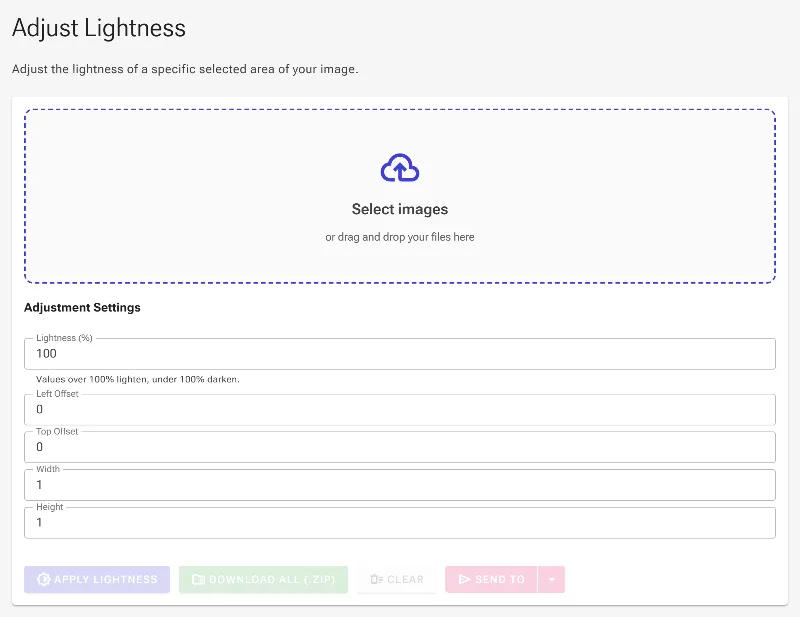
or drag and drop your images here
Easily correct uneven lighting, highlight key subjects, or fix shadows in specific parts of your photos with our professional-grade selective lightness editor. Operating entirely inside your browser, this tool ensures your images never leave your device, offering unmatched privacy and speed. There are no sign-ups, no fees, and no file size limits—just instant, high-precision local image editing.
Why it's different
100% Private, Local Processing
Your photos are processed directly in your web browser. No server uploads mean your private images remain entirely on your machine.
Interactive Target Selection
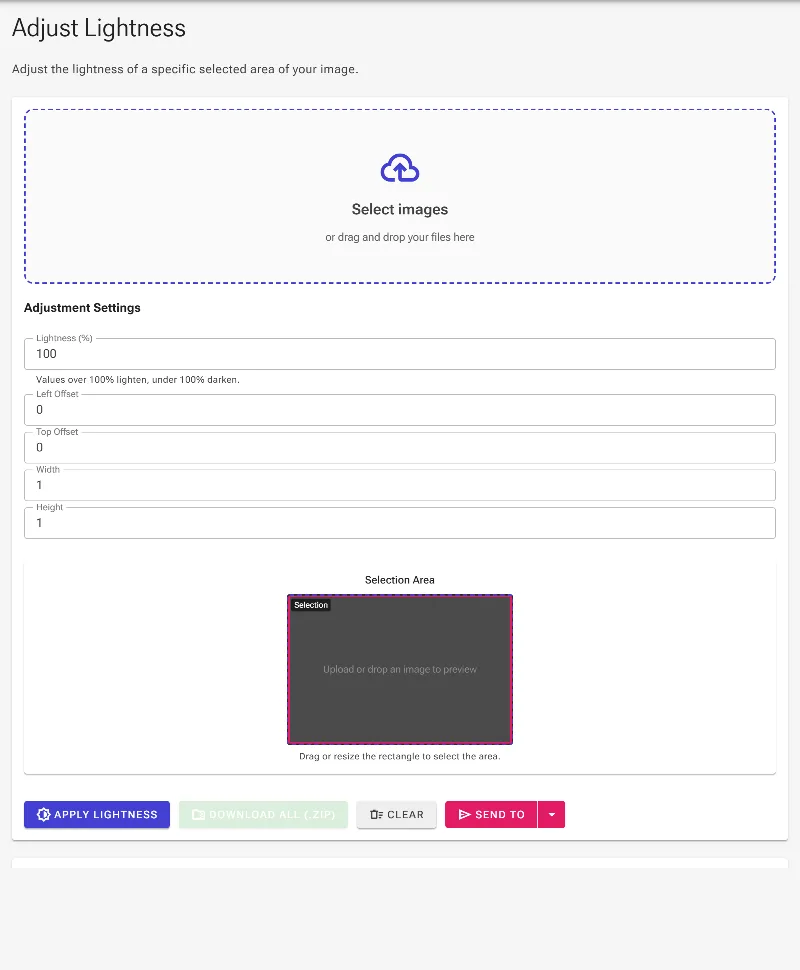
Visually target any specific area of your image using an interactive bounding box, or enter precise coordinates (X/Y offset, width, height) for absolute control.
Brighten or Darken Instantly
Adjust the lightness percentage with a simple slider—scale over 100% to illuminate dark spots or drop below 100% to burn overexposed areas.
Completely Free with Zero Limits
Enjoy unlimited, high-resolution processing with no paywalls, watermarks, sign-ups, or rate limits.
How to adjust selective image lightness
- Upload your image: Drag and drop your image or click to choose a file from your device to begin local editing.
- Select the target area: Drag the interactive rectangle over the preview to highlight the region you want to modify, or type in precise numerical dimensions.
- Adjust the lightness percentage: Slide or enter the percentage value—set it above 100% to brighten the selection, or below 100% to darken it.
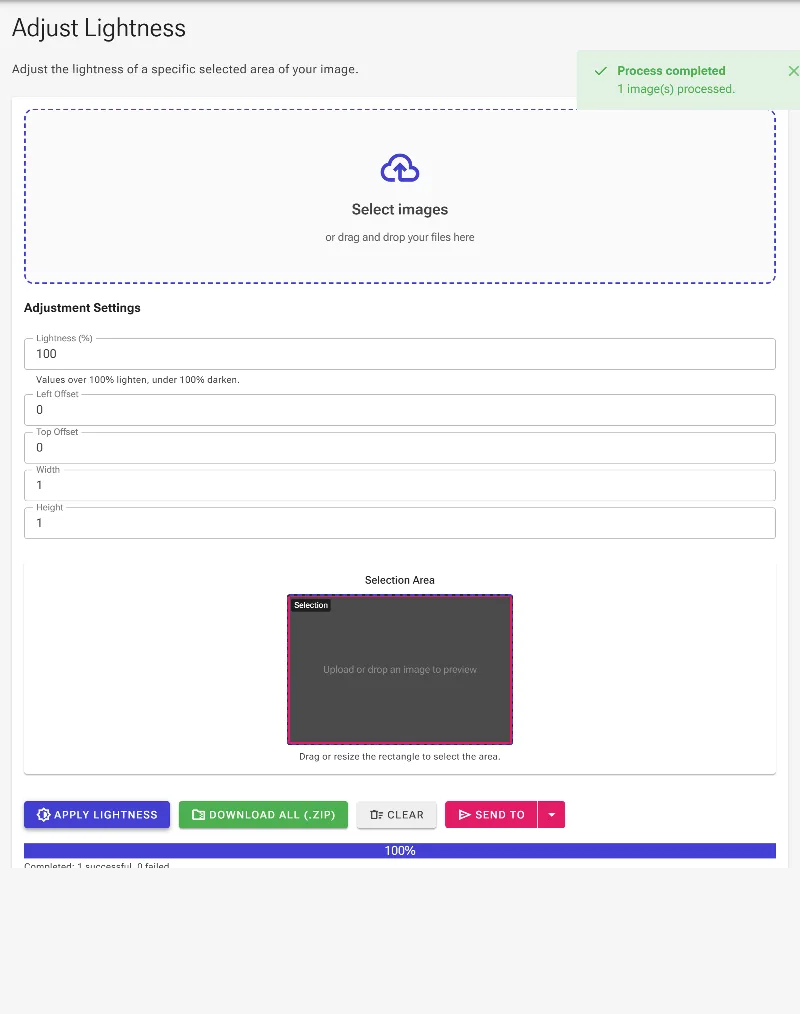
- Download your perfect image: Click the download button to instantly save your high-resolution edited photo directly to your local storage.
Use it for anything
-
Fixing backlit portraits
Easily brighten faces and subjects shadowed by strong background lights without overexposing the entire photo.
-
Correcting washed-out skies
Darken selected areas like overexposed horizons or bright skies to reveal rich colors and details.
-
Highlighting product details
Focus your customer's attention on specific features of e-commerce product photos by subtly illuminating them.
Experience the power of precise, desktop-grade exposure adjustment directly in your browser. Try Image Studio's local lightness adjuster now and perfect your lighting in seconds with absolute privacy.
Frequently Asked Questions
How does the selective lightness adjustment work?
Our tool allows you to isolate a specific rectangular area of your image using an interactive preview box or numerical coordinates. Once selected, you can adjust the lightness slider (above 100% to brighten, below 100% to darken) to apply local exposure corrections seamlessly.
Is my image data uploaded to any servers?
No, never. Image Studio runs entirely in your local web browser. All rendering, processing, and editing are executed on your device's CPU/GPU, ensuring your private photos remain secure on your computer.
How do I get precise control over the selected area?
You can drag and resize the visual selection box directly on your photo preview, or enter exact values for the top offset, left offset, width, and height in the control panel for pixel-perfect adjustments.
Are there any file size limits or usage restrictions?
No. Because all processing happens locally in your browser, we do not impose any file size limits, hourly rate caps, or premium paywalls. You can edit as many high-resolution images as you need.