Annotate Images Online with Ultimate Privacy and Precision
Select files
or drag and drop your images here
Enhance your screenshots, photos, and designs instantly with our free, professional-grade online image annotator. Running entirely inside your web browser, this tool ensures your images never leave your computer—no uploads, no registrations, and absolutely no limits. Add pixel-perfect text overlays, emojis, and advanced styling effects with complete peace of mind.
Key Features
Why it's different
100% Local & Private Processing
Your images are processed directly in your browser using local client-side technology. They are never uploaded to a server, keeping your sensitive data entirely secure.
Advanced Typography & Custom Fonts
Choose from standard web fonts, import any custom font via URL, and adjust line height, shadows (blur, offset, color), bold/italic styles, and alignments.
Interactive Mouse Editing
Effortlessly position, scale, and rotate your text annotations directly on the canvas using intuitive drag-and-drop mouse controls, or fine-tune with precise X/Y coordinates.
Smart Object Snapping
Restrict and snap your annotations automatically to the non-transparent boundaries of your image elements for flawless, professional layouts.
Workflow
How to Annotate an Image
01
Load Your Image
Drag and drop your image into the workspace or click to select a file from your device to begin local editing.
02
Add and Customize
Click to add a new annotation layer, then type your text or emojis, choose your font, customize colors, and apply drop shadows.
03
Position and Rotate
Drag the text interactively on the preview canvas, scale it, rotate it to any angle, or input exact X and Y coordinates.
04
Export Your Work
Once you are satisfied with your layout, click download to save your fully annotated high-resolution image instantly.
Versatility
Use it for anything
Tutorials and Documentation
Add clear, step-by-step text overlays, instructions, and Unicode emojis to software screenshots and training manuals.
Social Media & Memes
Create eye-catching posts and memes by overlaying stylized text, custom-loaded brand fonts, and shadows on your images.
Professional Mockups
Label UI wireframes, add feedback notes to design assets, and align annotations precisely to transparent image objects.
Experience Professional Local Editing
Stop risking your data on slow, server-based online converters. Experience the speed, privacy, and precision of a desktop editor right in your browser—try Image Studio's annotation tool today!
FAQ
Frequently Asked Questions
Are my images uploaded to any servers?
No. Image Studio operates entirely client-side. Your images are processed directly in your web browser, ensuring your files never leave your device and your data remains 100% private.
Can I use my own brand fonts in this image annotator?
Absolutely. Along with standard pre-installed fonts (like Arial, Helvetica, and Times New Roman), you can import any custom font simply by pasting its URL directly into the tool.
What does "snap to non-transparent pixels" mean?
This smart feature automatically detects the visible, non-transparent pixels in your image and restricts your annotation box to fit perfectly within those boundaries, preventing your text from overlapping empty space.
Is there a limit to how many images I can annotate?
No. Since the tool runs entirely on your local machine, there are zero usage limits, file size restrictions, or premium paywalls. You can annotate as many images as you need for free.
How to annotate images with custom text, shadows, and formatting
Add highly stylized text annotations directly to your images using advanced typography, position, color, and drop shadow options. This tool runs entirely in your browser, securing your files by processing them locally without remote server uploads.
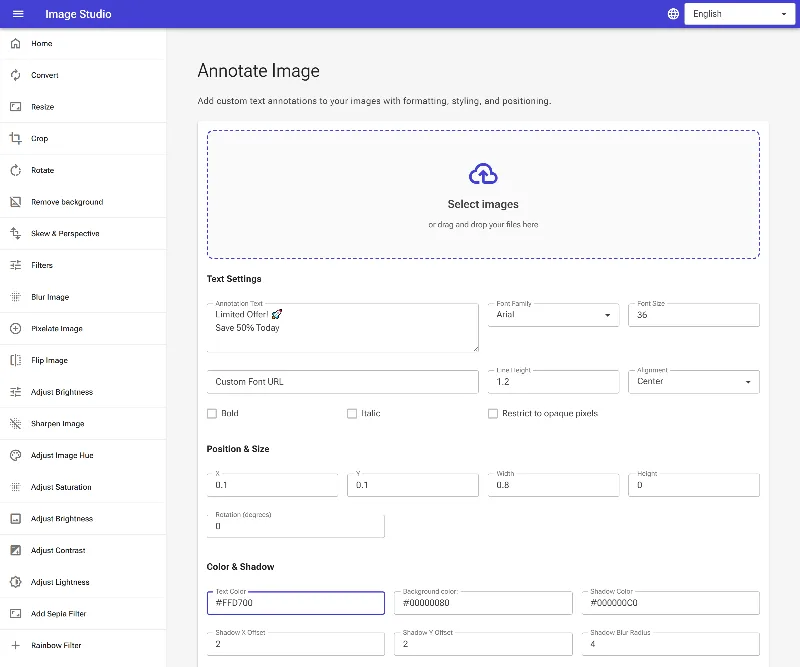
1Explore the annotation workbench
Begin by opening the image annotation tool interface. Here, you will find extensive controls for managing text content, sizing, typography styles, relative coordinates, color blending, and drop shadows to customize your layout.
The empty image annotation interface ready for an upload
2Upload your target image
Select and upload the image you wish to annotate using the file picker. The file will load instantly into the preview engine, establishing a reference canvas for our text position coordinates.
An image successfully loaded into the annotation workspace
3Adjust text alignment and opacity boundaries
Align your multi-line text dynamically using the Align dropdown (Left, Center, or Right). For advanced transparency control, you can enable the Restrict to Opaque Pixels toggle; this clips the text drawing boundary exclusively to the non-transparent areas of your source image, which is perfect for complex transparent PNG layouts.
Toggling bold text styling and configuring text alignment
4Apply brand colors and drop shadows
Define your Text Color and Background Color using hexadecimal values, supporting transparency alpha channels (e.g., #00000080 for a semi-transparent dark backing). To enhance readability, specify a Shadow Color alongside custom Shadow Offset X/Y coordinates and a Blur Radius to separate text from complex backgrounds.
Adding custom hex colors and defining drop shadow properties
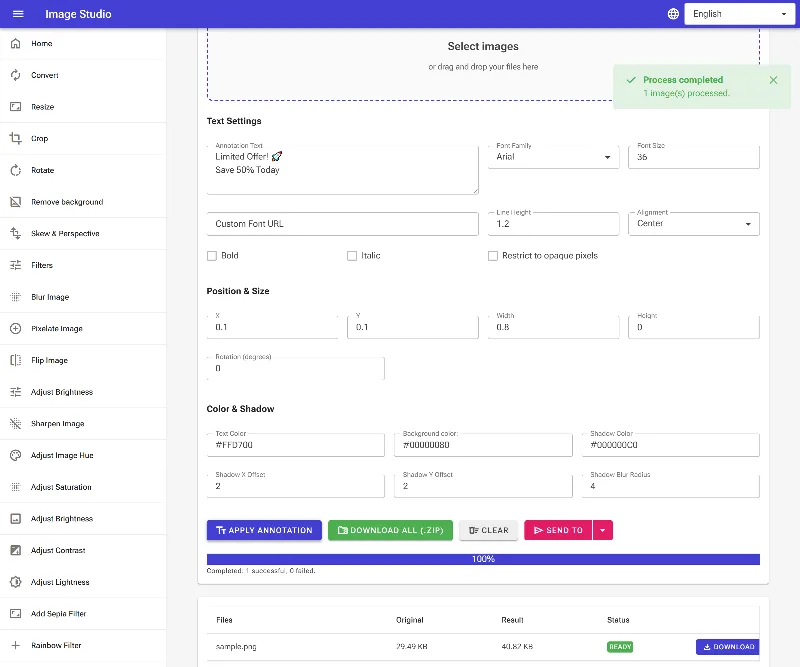
5Apply annotations and download
Click the apply button to rasterize your text layout onto the original image. Once processed, preview the final results in the workspace grid, and click the download button to grab your newly styled image.
Applying the final annotation to export the completed image