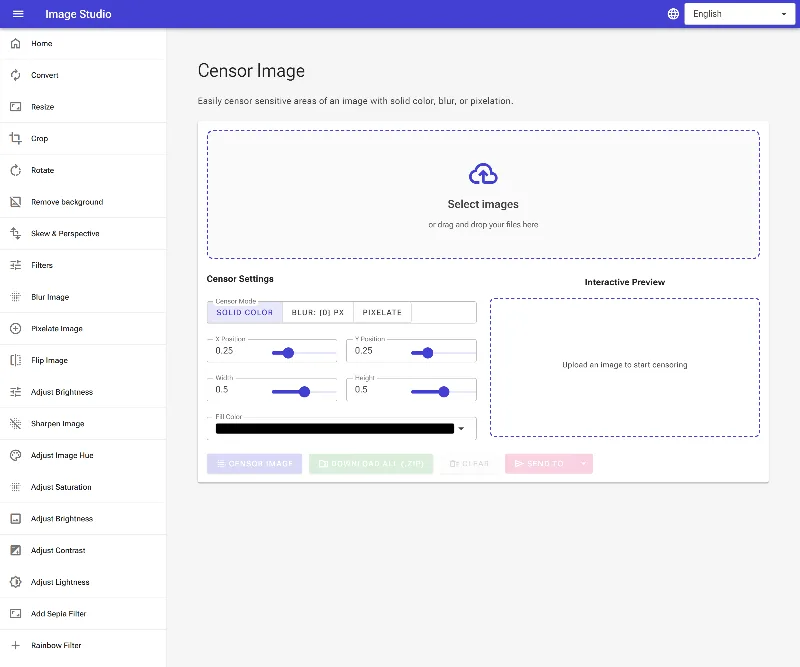
Censor and Redact Images Online Safely & Free
or drag and drop your images here
Protect your personal data by instantly blurring, pixelating, or blacking out sensitive parts of your photos. Image Studio's free image censoring tool runs entirely in your local browser, meaning your private files never touch a cloud server. Securely redact faces, credentials, license plates, and private documents with absolute peace of mind.
Why It's Different
100% Private & Local Processing
Your images never leave your computer. All rendering happens in your browser, guaranteeing total data security and zero risk of leaks.
Multiple Censor Effects
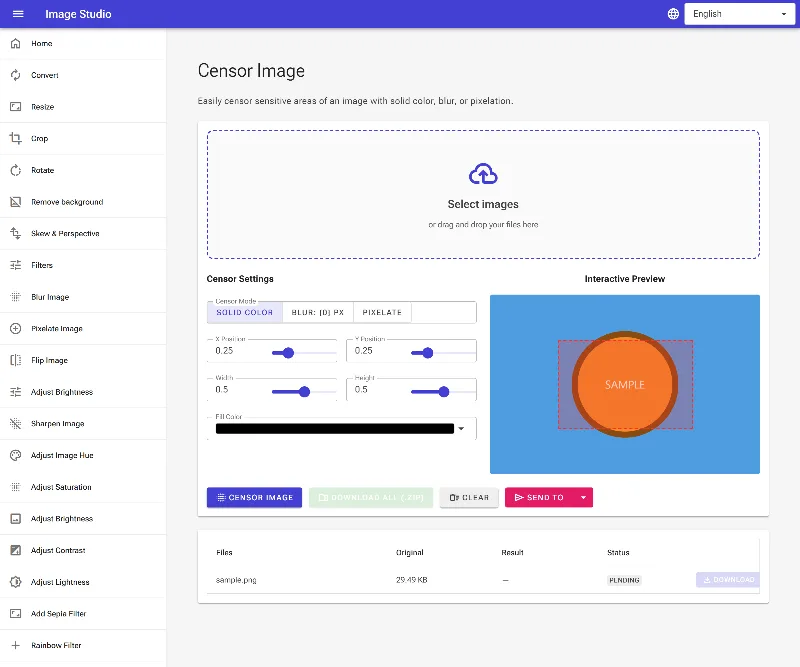
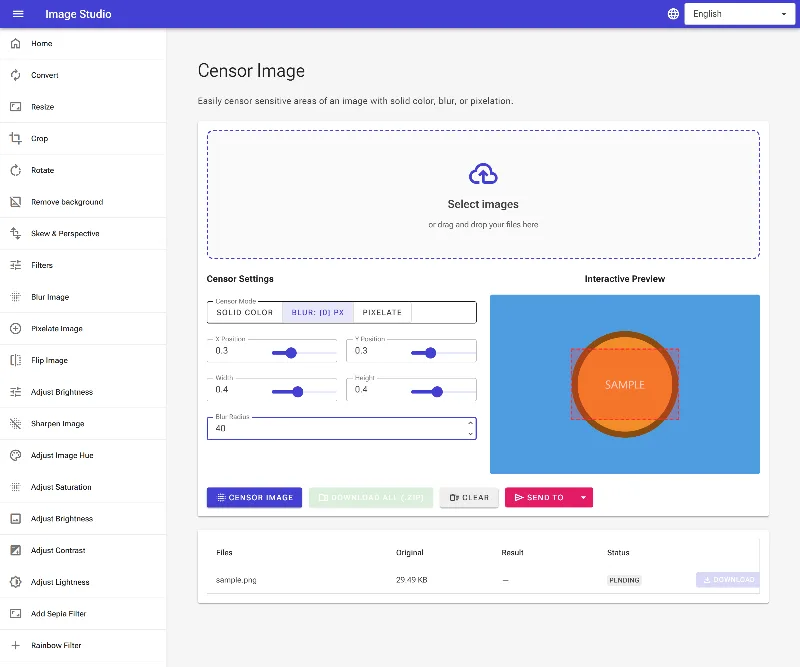
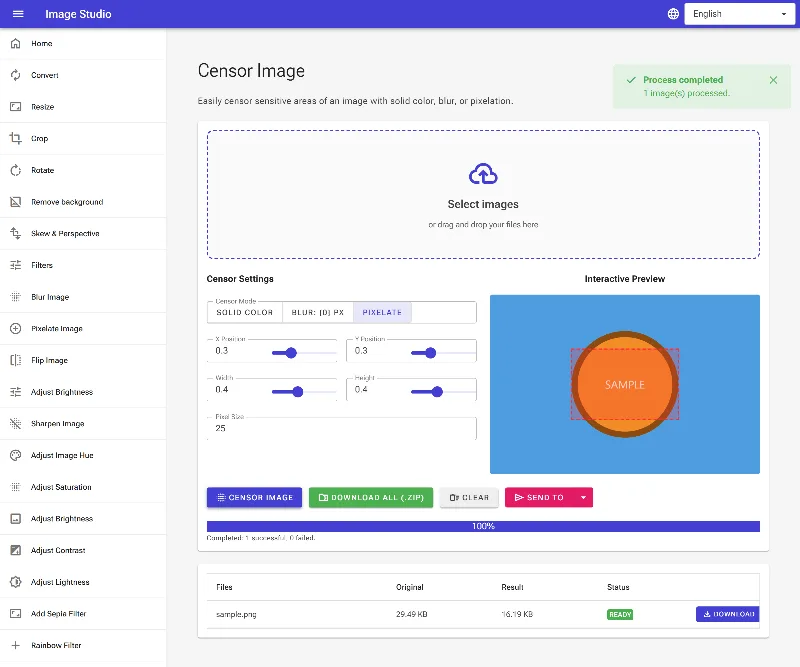
Choose from solid color blackouts, smooth gaussian blur, or retro pixelation to match your specific style and security needs.
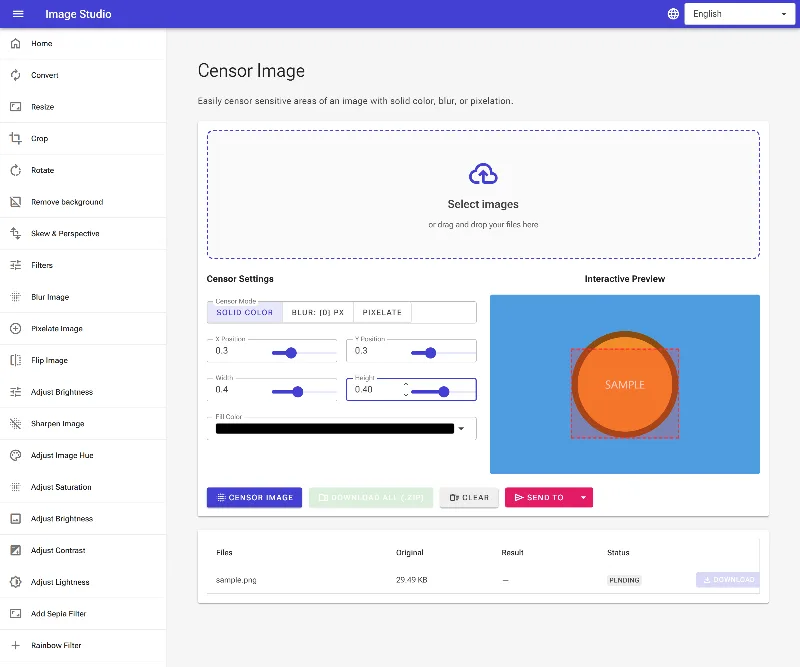
Pixel-Perfect Precision Control
Adjust the censored area dynamically on the canvas, or input exact coordinate positions (X, Y) and dimensions (Width, Height) for professional-grade accuracy.
No Sign-ups, No Limits
Enjoy a completely free service with no registration required, no watermarks, and no daily upload caps.
How to Censor an Image
Load your image
Drag and drop your image into the tool. It opens instantly and remains safely inside your browser.
Select your censor style
Choose Solid Color (with a custom color picker), Blur (with an adjustable blur radius slider), or Pixelation (with an adjustable pixel size slider).
Position the redaction
Click and drag the box over the sensitive area on the preview, or type in precise manual coordinates and dimensions.
Download securely
Click the export button to save your permanently redacted image directly to your device.
Use It for Anything
Redacting Sensitive Documents
Safely blackout credit card numbers, home addresses, signatures, and government IDs on documents or screenshots.
Anonymizing Faces & Identities
Protect the privacy of minors, bystanders, or clients by blurring or pixelating faces before publishing photos online.
Hiding License Plates & GPS Data
Censor vehicle registration plates, street names, and landmarks to prevent tracking and preserve location privacy.
Zero Risk, Total Privacy
Stop risking your privacy with server-side tools that store your sensitive media. Redact your personal photos safely, locally, and instantly with Image Studio today.
Frequently Asked Questions
Is my image uploaded to your servers when I censor it?
No, never. Image Studio runs entirely client-side. Your photos are processed directly inside your browser using your device's hardware, ensuring your private data remains completely offline and secure.
Can someone undo the blur or pixelation to reveal my original image?
No. Once you apply the censorship and export the image, the underlying pixels are permanently overwritten and flattened. Unlike PDF metadata leaks, the original censored data is completely destroyed and cannot be recovered.
What is the difference between the solid color, blur, and pixelation options?
Solid color fills the selected area with a flat color of your choice (ideal for complete blackout redaction). Blur softens the area using an adjustable radius, while Pixelation groups pixels into larger block patterns. Both blur and pixelation let you obscure details while maintaining a natural look.
Can I precisely align the censored area on my image?
Yes. You can visually drag and resize the bounding box directly over the image preview. For absolute precision, you can also manually input the exact X and Y coordinates along with the target width and height in pixels.