Change Image Orientation Instantly: Portrait to Landscape & Back
or drag and drop your images here
Easily change any photo's orientation from portrait to landscape, landscape to portrait, or to a custom size without cropping your main subject. Running entirely in your web browser, Image Studio processes your images locally—meaning your files never touch a server, ensuring 100% privacy, speed, and zero limits. Best of all, it is completely free and requires no sign-up.
Why It's Different
100% Private & Local Processing
Your images never leave your device. Everything runs client-side in your web browser, keeping your sensitive visual data completely secure.
Smart Border Extension Options
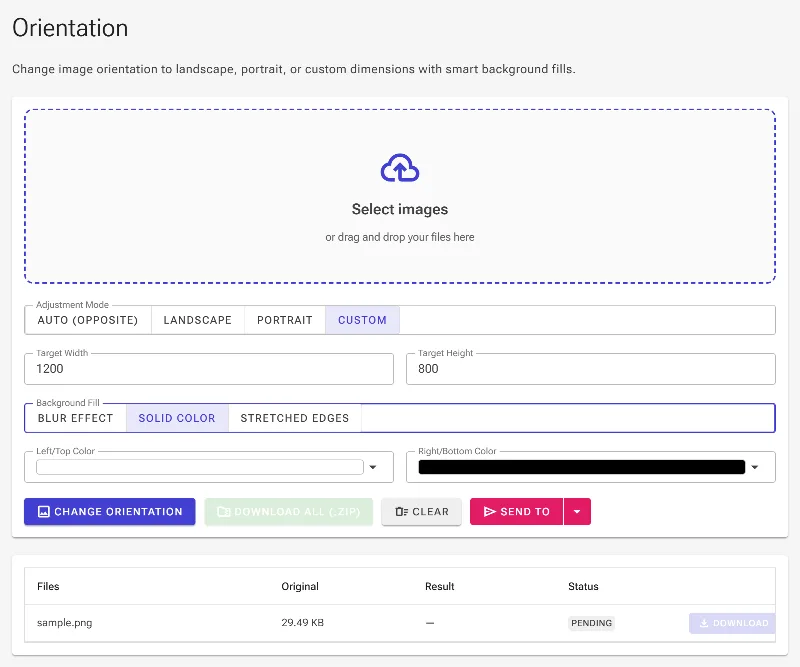
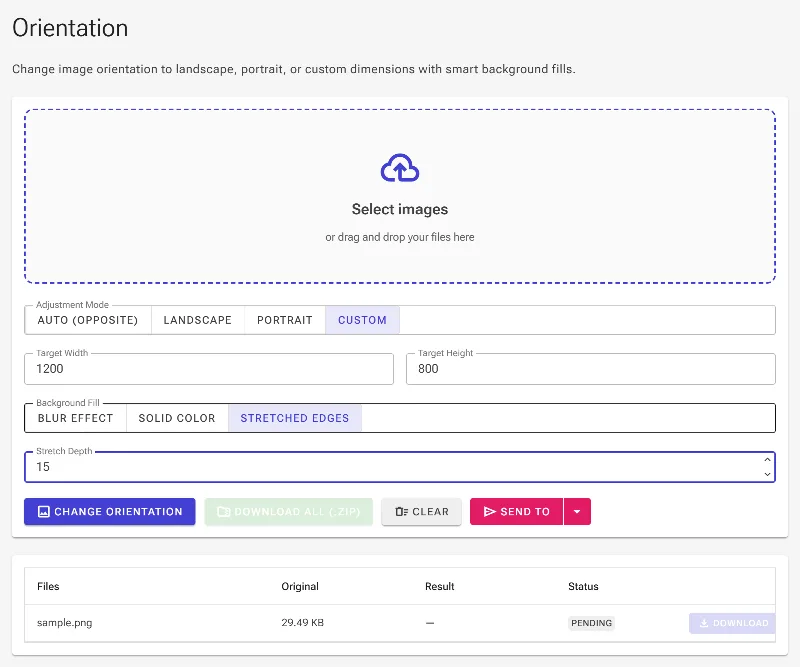
Instead of harshly cropping your subject, seamlessly expand your canvas using an adjustable Blur Effect, custom solid color fills, or advanced edge-pixel stretching.
Instant Presets & Custom Sizes
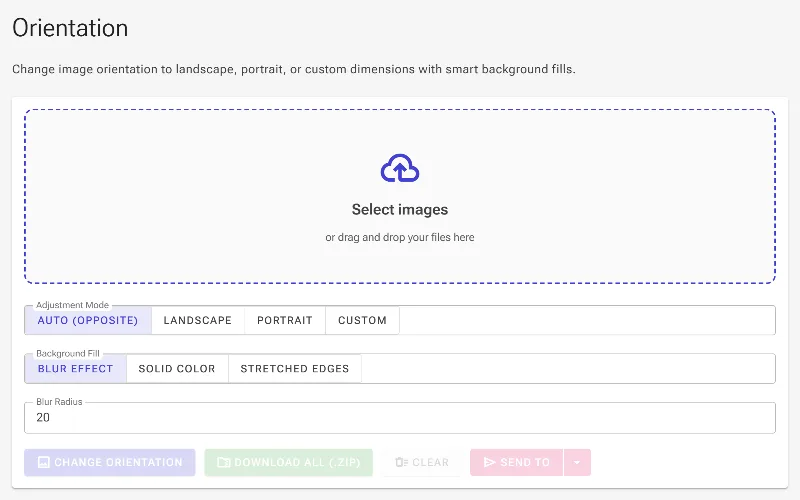
Swap orientations automatically upon uploading, toggle between standard landscape and portrait layouts, or enter precise custom dimensions manually.
Completely Free with Zero Limits
No subscriptions, no registration, no watermarks, and no daily upload limits. Edit as many high-resolution photos as you need, whenever you need.
How to Change Image Orientation
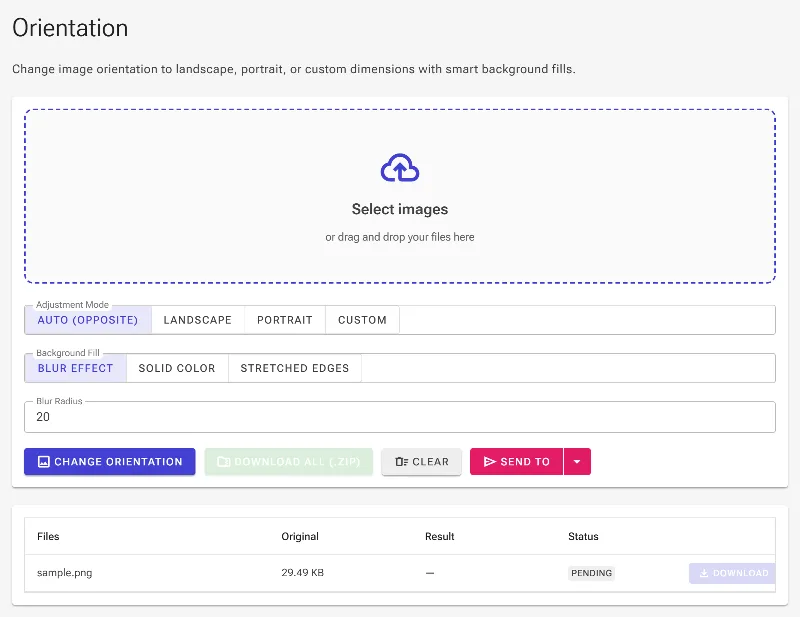
Upload your image
Drag and drop or select your photo from your device to automatically load it into the tool.
Select your orientation
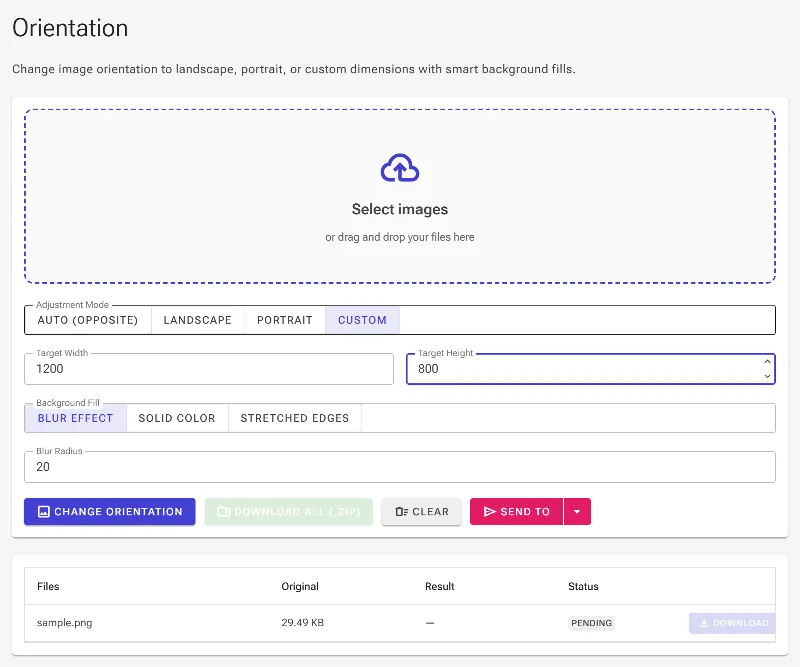
Choose portrait, landscape, automatic reversal, or input your own custom width and height.
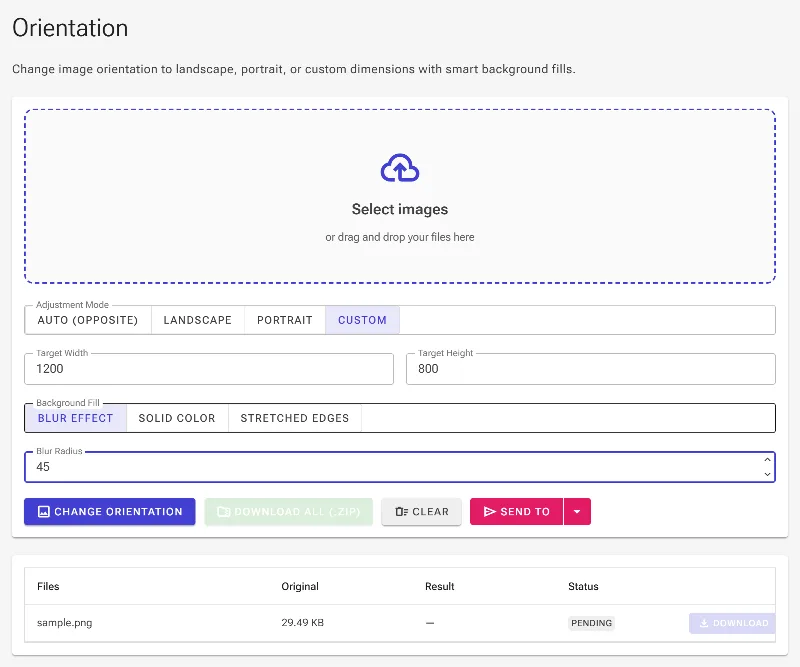
Style the background margins
Fill the newly extended canvas space using a customizable blur radius, custom solid colors, or stretched edge pixels.
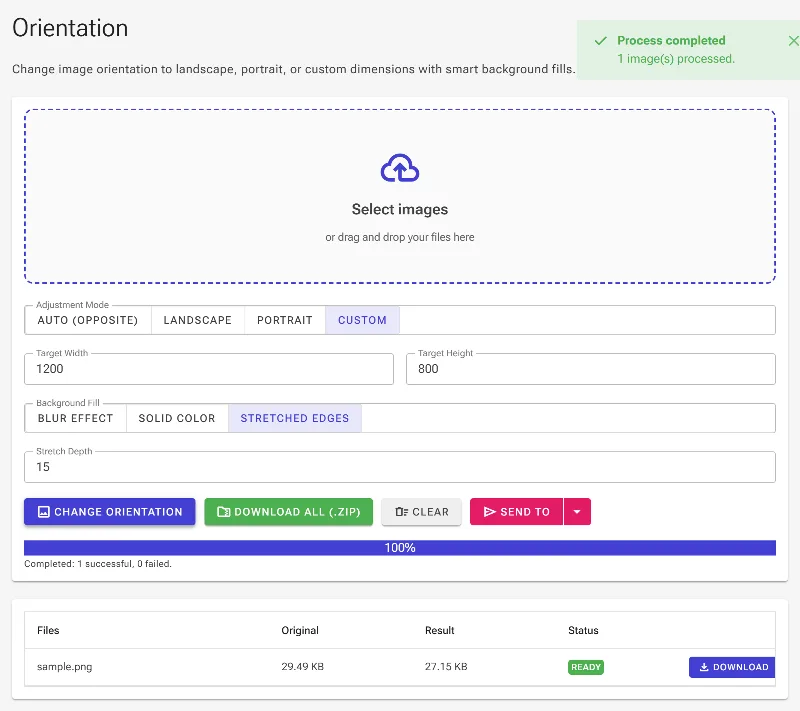
Download instantly
Save your perfectly reformatted image directly to your device in high resolution with zero quality loss.
Use It for Anything
Social Media Formatting
Convert landscape camera shots into vertical, portrait-oriented layouts optimized for Instagram Stories, TikTok, or Pinterest without losing key visual details.
Desktop & Mobile Wallpapers
Convert vertical smartphone photos into widescreen landscape wallpapers for your PC, or transform horizontal scenic pictures into lock screens.
E-commerce & Web Design
Standardize product images to fit specific banner or grid aspect ratios, using professional border fills to maintain a clean, consistent aesthetic.
Adjust Your Images Instantly
Ready to adjust your images to the perfect layout? Experience lightning-fast, secure, and professional-grade orientation changes with Image Studio today—completely free and right in your browser.