Pixelate Images Online: Fast, Precise, and 100% Private
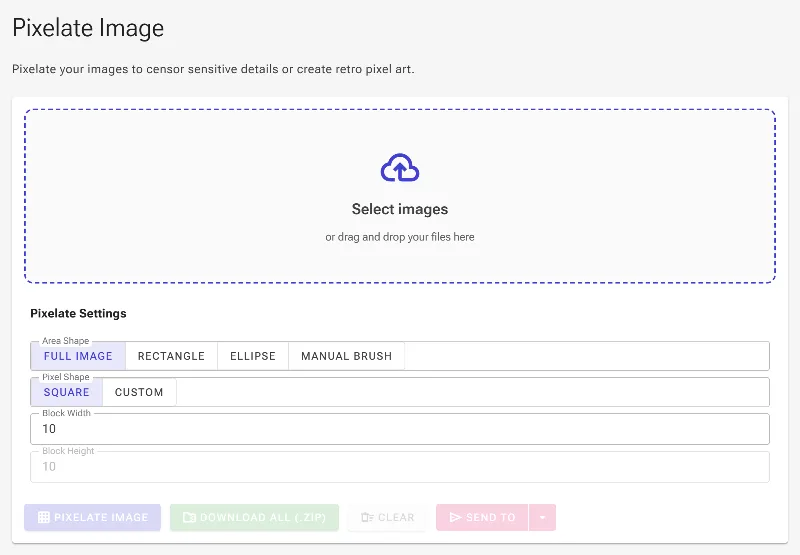
or drag and drop your images here
Transform your photos into retro pixel art or securely censor sensitive information with our free, in-browser pixelation tool. Because Image Studio runs entirely inside your local browser, your private images are processed instantly without ever being uploaded to a server. Enjoy professional-grade pixelation controls with no sign-ups, no watermarks, and zero limits.
Why It's Different
Absolute Privacy (Local Processing)
Your images never leave your device. All processing occurs directly in your browser, keeping your sensitive documents, faces, and data safe from third-party servers.
Precision Brushes & Shapes
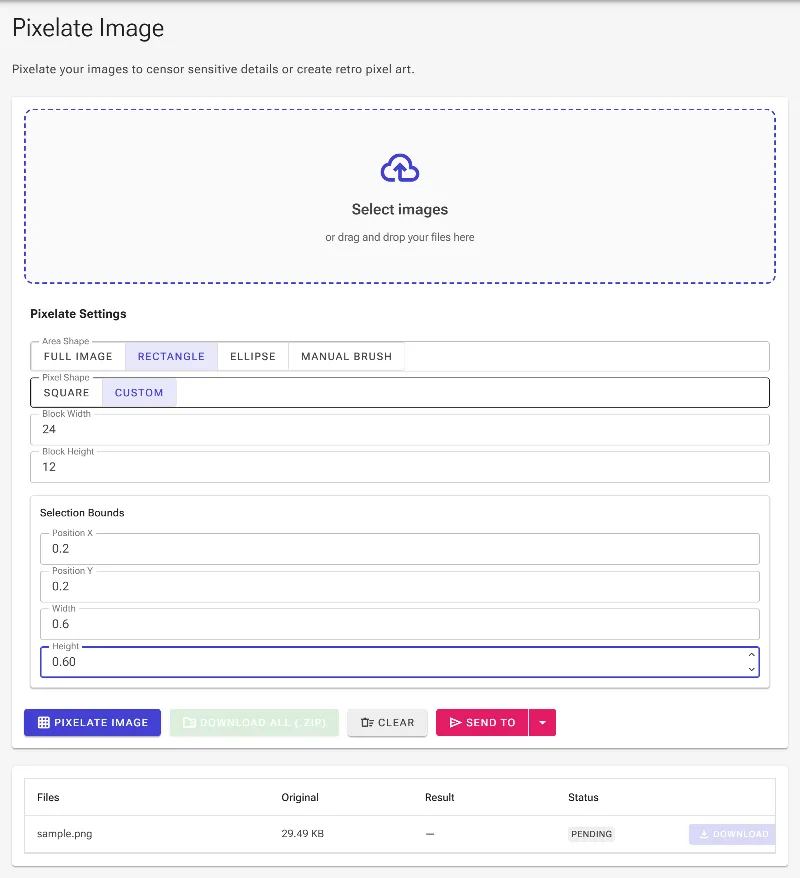
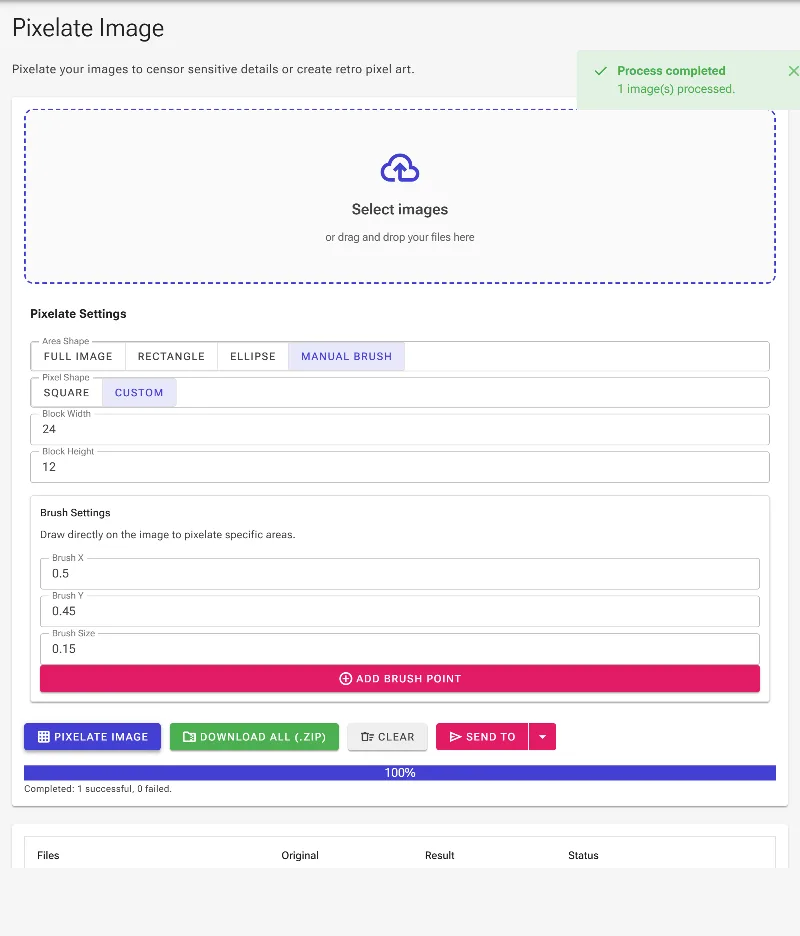
Safely censor specific areas. Use our manual brush to paint over eyes, text, and logos, or apply perfectly aligned rectangular and elliptical selections to keep your edits clean and professional.
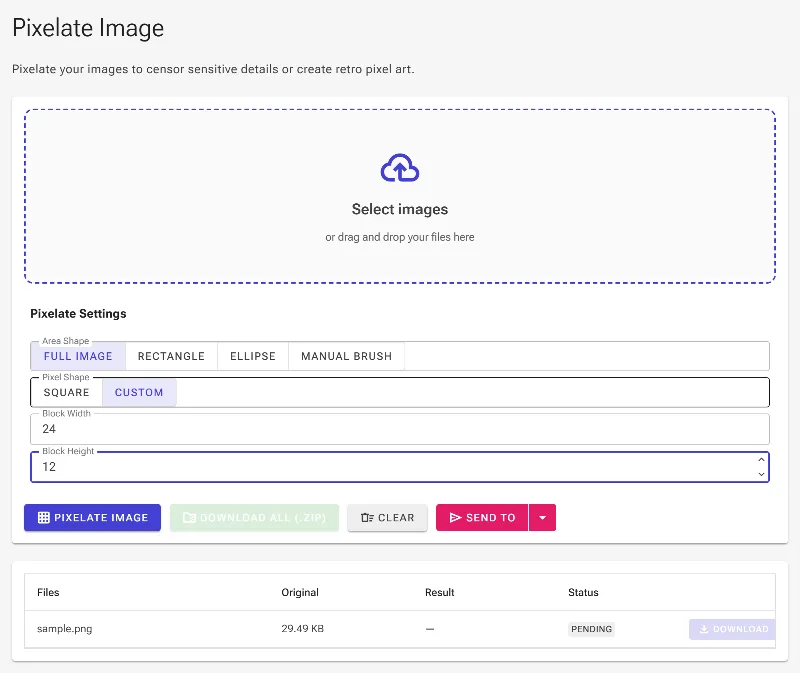
Adjustable Block Size & Aspect Ratio
Fine-tune your desired look with a block size slider (from 2x2 to 100x100 pixels) and choose between classic square pixels or custom horizontal/vertical stretching for unique visual effects.
No Limits, No Watermarks
Process ultra-high-resolution images with no rate limits, no premium paywalls, and no forced account creation.
How to Pixelate an Image
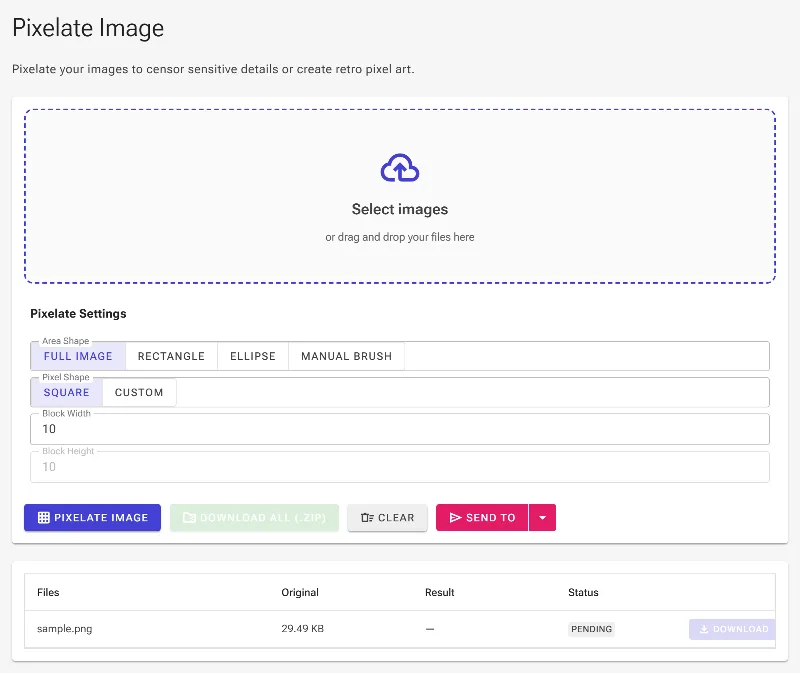
- Upload your image: Drag and drop your photo or click to browse. It loads instantly into your browser's local memory.
- Choose your pixelation style: Adjust the pixel block size slider to control the level of abstraction, and choose between square or stretched aspect ratios.
- Select target areas (Optional): Use the manual brush to paint over specific details like faces, or use the rectangle and ellipse shape tools to pixelate defined sections.
- Download your image: Click the export button to save your pixelated image immediately in high resolution.
Use It for Anything
Censoring Sensitive Information
Protect identity and privacy by pixelating faces, license plates, credit card numbers, and confidential text in documents.
Creating Retro Pixel Art
Give your photos, avatars, or game assets a classic, nostalgic 8-bit or 16-bit aesthetic.
Redacting Brand Logos
Easily blur out proprietary logos, trademarks, or copyrighted materials from background images before sharing them online.
Get Started Instantly
Take full control over your image privacy and creative designs. Try our local, secure pixelator tool today and edit your images with complete peace of mind.
Frequently Asked Questions
Is my image uploaded to your servers when I pixelate it?
No, never. Image Studio uses advanced client-side technology to process your images directly inside your browser. Your files never touch our servers, ensuring 100% privacy and security.
Can I pixelate only a specific part of an image, like a face or a logo?
Yes! You can use our manual brush tool to paint over specific zones like eyes or documents, or use rigid rectangular and elliptical selection tools to cleanly pixelate targeted areas.
What does the pixel aspect ratio setting do?
While standard pixelation uses perfect squares, the aspect ratio option allows you to stretch the pixel blocks horizontally or vertically. This is ideal for creating unique stylistic textures or matching specific design layouts.
Are there any limits on image size or the number of files I can process?
No. Unlike other online tools that restrict file sizes, require paid subscriptions, or throttle your speed, Image Studio is completely free, supports high-resolution files, and has no daily usage limits.